
Add photos, videos and a cover photo
Photos and videos go into one library for your account. Each location picks what it shows. The cover is the wide photo at the top of the page.
Updated 2026-10-11For owners and managers
Before you start
- You are on your school page. Open Media.
- Photos: PNG or JPG. Up to 40 in the library. Videos: a YouTube link. Up to 10.
Steps
-
Press Add photos and choose the files. Each photo appears in the library.
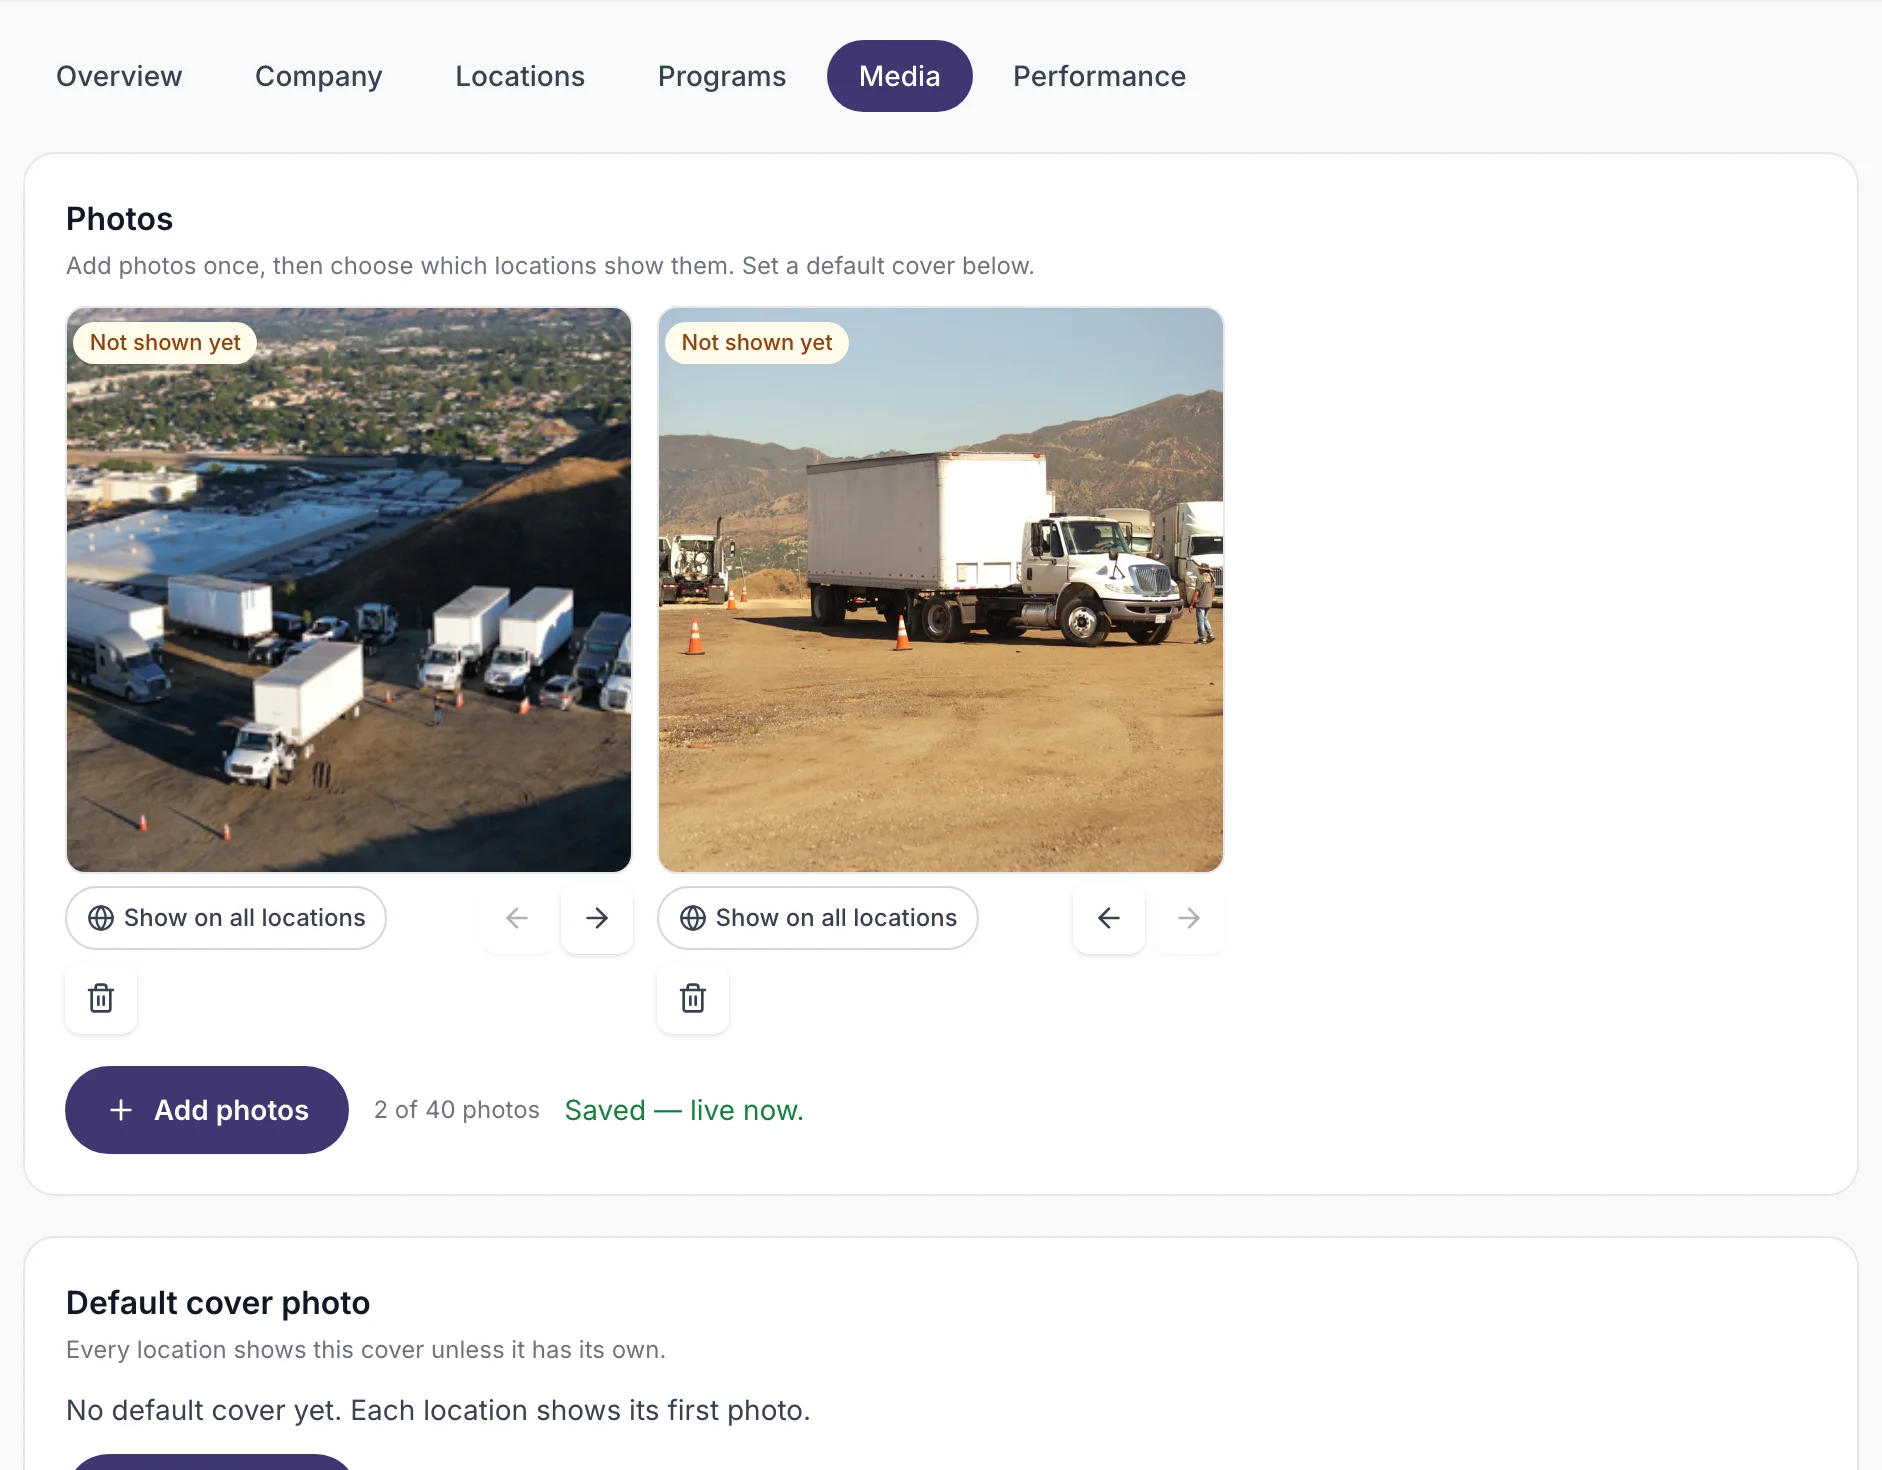
-
To add a video, paste the YouTube link and press Add video.
-
For the cover, press Choose a photo, pick one, then move the crop box to the part you want to show.
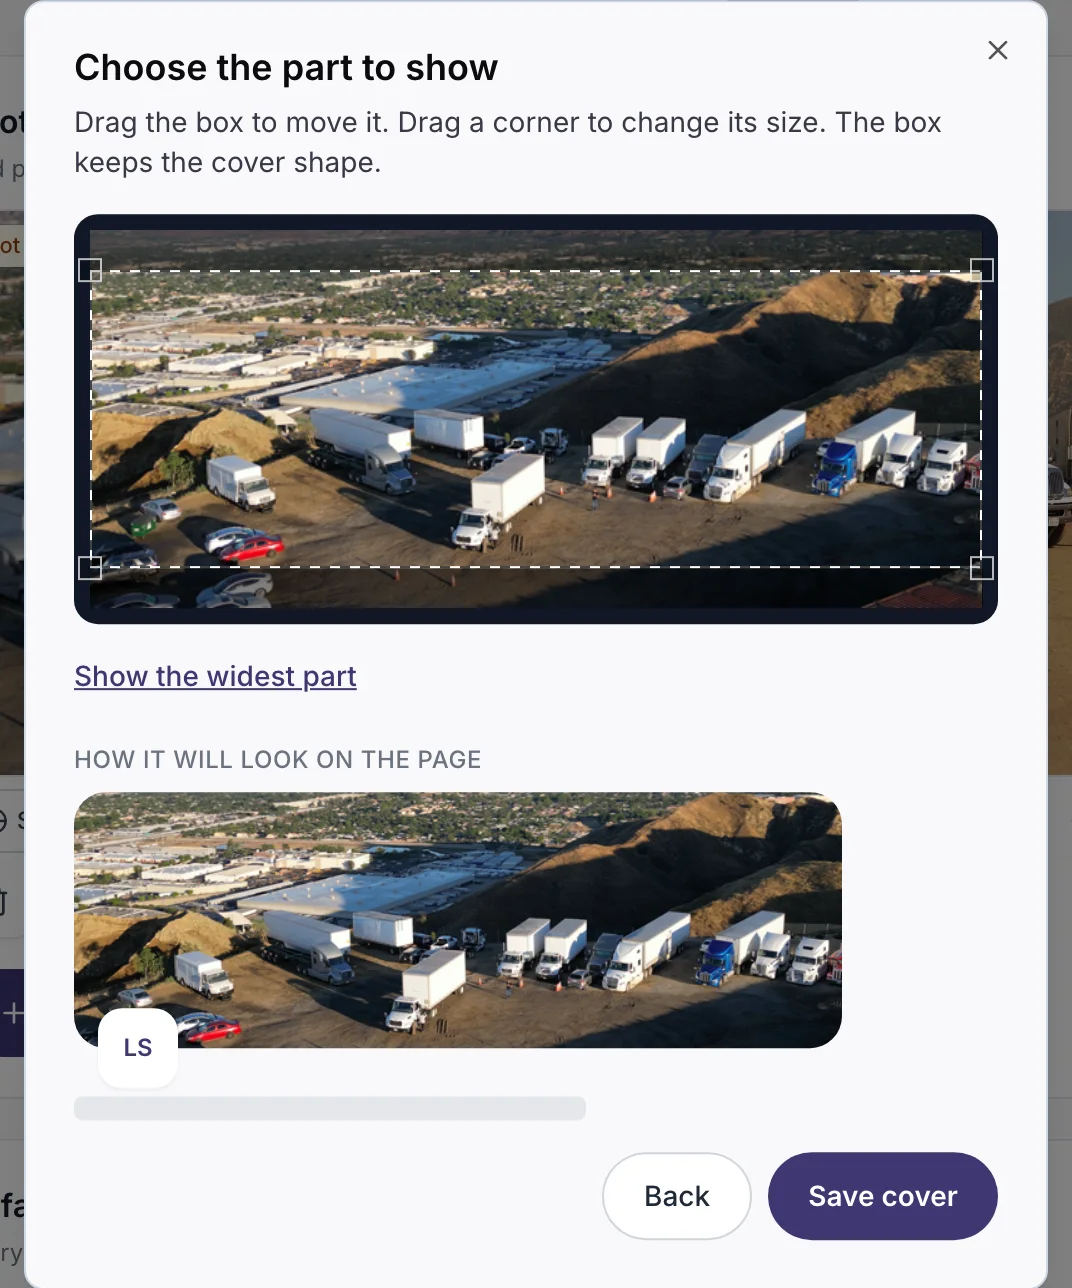
-
Press Save cover.
-
To give one location its own cover, open that location's Media tab and choose a photo there.
What you will see
The cover at the top of the public page. Photos appear in the Photos section, and students can tap them to see them large.
If it does not work
- A photo looks cut off in the cover. Choose it again and move the crop box.
- A location shows no photos. Open the location's Media tab and pick photos from the library.
- The library is full. Delete photos you no longer need.
What happens next
Nothing to wait for. Photos, videos and the cover show at once.
Related
Was this helpful?
Still stuck? Write to us